> project log
Custom FPV Drone Build
Prototype 1 was a small, lightweight quadcopter built on a Technic-style frame, used to test weight, motor power, and the other factors that actually determine whether a build can fly at all, before committing time and money to a full-scale frame.
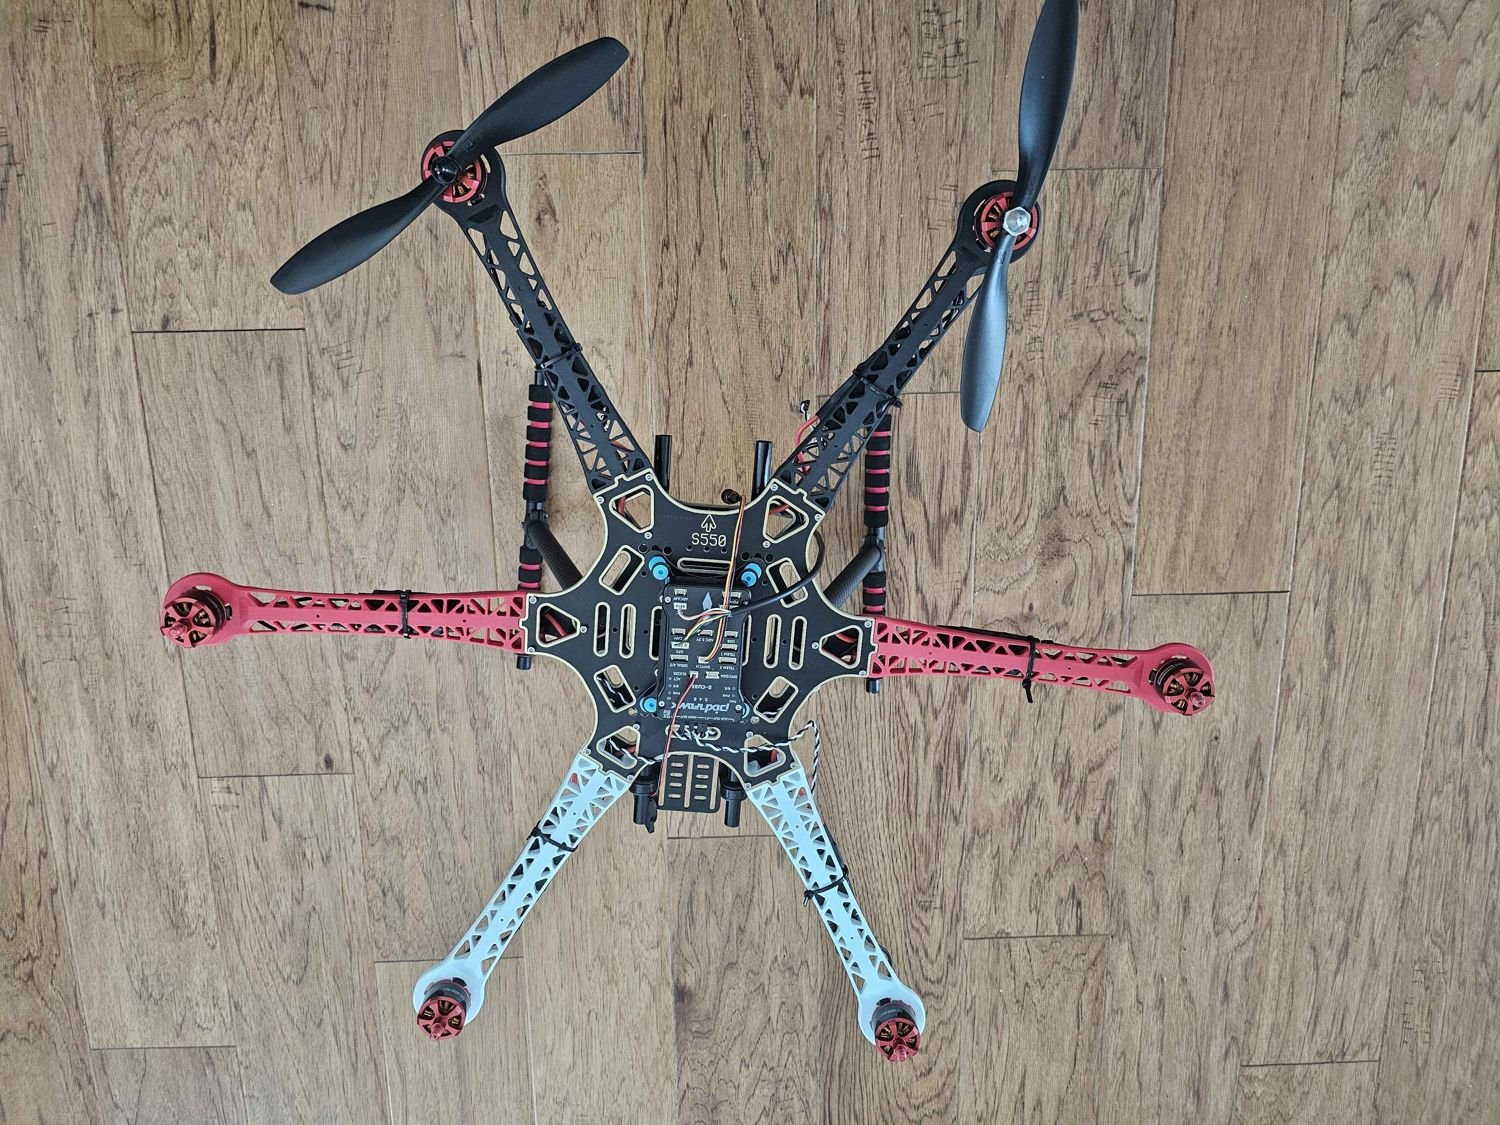
Prototype 2 took what that testing showed and applied it to a real build: an S550 frame, starting with just the two metal chassis plates, a Pixhawk 2.4.8 flight controller, and some wiring, with everything else sourced separately, motors, ESCs, a replacement compass (the original was lost along the way), and the rest of the hardware needed to get the frame airworthy.
The next pass on Prototype 2 adds onboard intelligence, a Raspberry Pi, camera module, and Sense HAT, to move from "flies" to "flies and senses its environment."
Built a lightweight Technic-frame quad to test weight, motor power, and what actually makes a build fly.
Started with just the frame plates, flight controller, and some wiring, sourced the rest ourselves.
Pixhawk 2.4.8 flashed with ArduPilot, wired to receiver and ESCs.
Debugged I2C/SPI compass config and bench-tested motor response in Mission Planner.
Power distribution board damaged by reversed polarity during bench testing.
Replacing the damaged component, redesigning the frame, adding a Pi and camera.